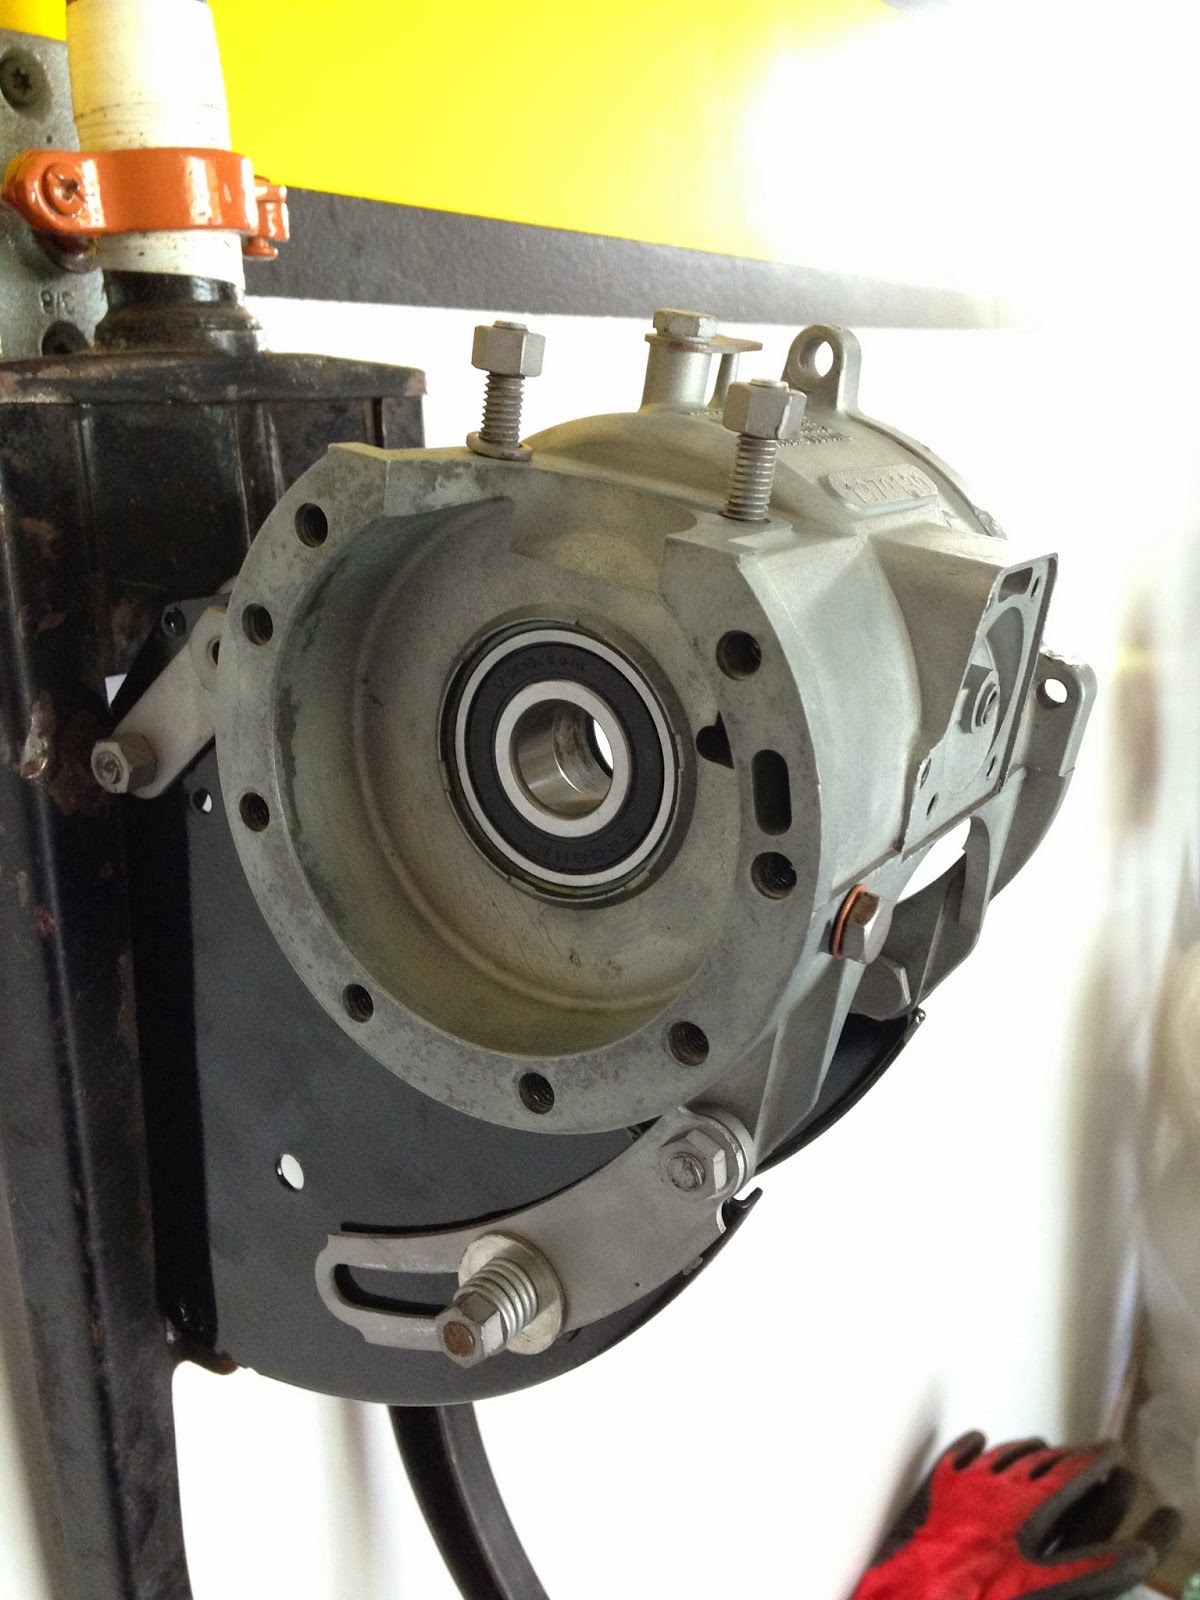
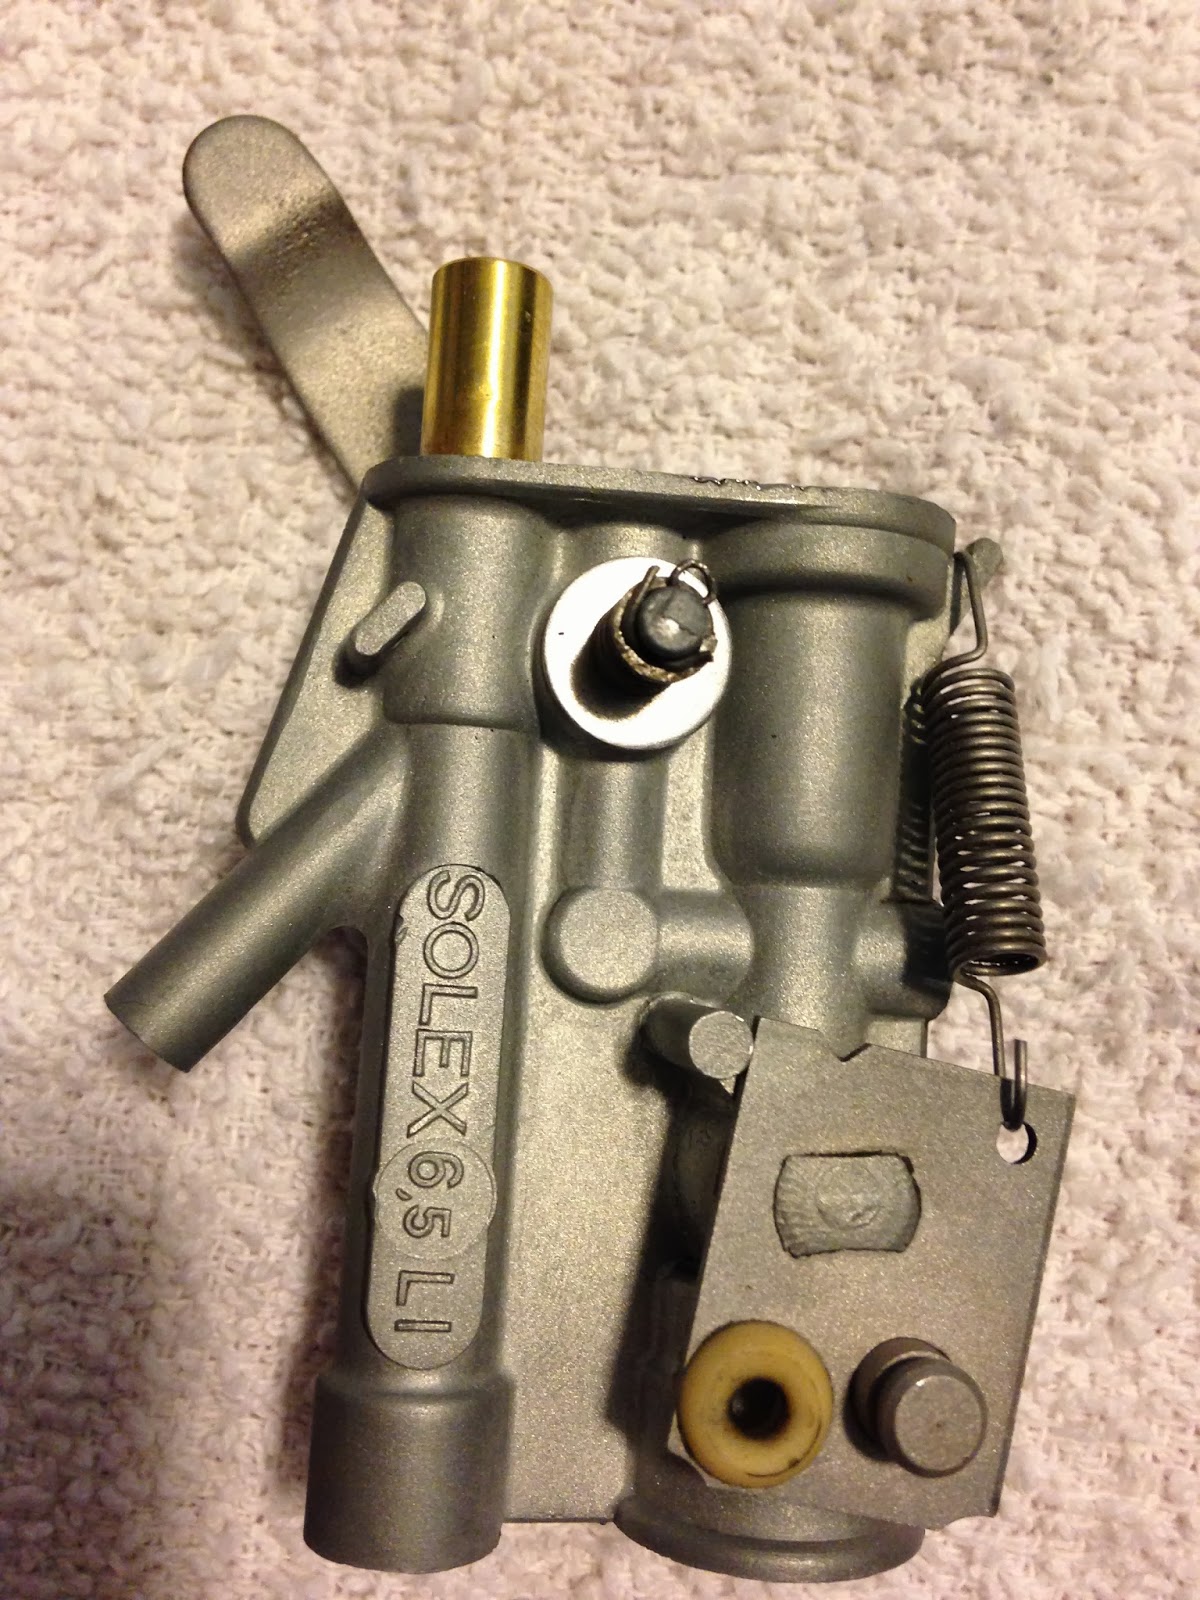
I have repainted the side plates and reassembled them with the crank case. Installed a new bearing and the next step is to continue the assembly:
New piston in place with the rings, new crank case gasket (made out of a manilla folder), the roller has been cleaned and re-assembled - all bearings inside the roller assembly where in good shape so I did not change those.
Next the cylinder will go in as well as the rest of the stator plate and the ignition. The fly wheel, gaskets and the cylinder head.
Velosolex 1700 US
Tuesday, March 4, 2014
Thursday, February 20, 2014
Engine cleaning - phase 2
Second step will be to replace the piston which was heavily scratched and damaged on one side. I will be carefully taking the rings of the existing one, heating and using a single thread of a brake cable.. In the end they are out. I sourced a 'Cote B' piston (There were A, B and Cs) from ebay in France from a vendor I know, here it is and ready to be back in.
I also honed the cylinder with some very fine grit sandpaper and some gas/oil mix. It came back to life very easily. I used a trick for that a piece of PVC pipe, cut in length to fit without pushing on the cylinder walls. I also bead blasted the outside of the cylinder and painted it with some high heat black paint.
A friend of mine and fellow collector in France found me cylinder head for a 1700 motor, which I bead blasted and got ready to get on the engine when I get to that stage. I took the time to clean all the other parts including the decompressor, spring and bolts along the way.
The one on the left is the original head, which you cannot see from this angle but has some of the fins broken on the front. The one on the right is the replacement. They must be two different batches of foundry because they don't have the same marking. I suspect the original one to actually coming from a Solex model 1400 and not a 1700 (replaced or installed in factory with older left over inventory?)
Next step, will be reassembling the engine now that most parts have been fully degreased, bead blasted and cleaned.
I also honed the cylinder with some very fine grit sandpaper and some gas/oil mix. It came back to life very easily. I used a trick for that a piece of PVC pipe, cut in length to fit without pushing on the cylinder walls. I also bead blasted the outside of the cylinder and painted it with some high heat black paint.
A friend of mine and fellow collector in France found me cylinder head for a 1700 motor, which I bead blasted and got ready to get on the engine when I get to that stage. I took the time to clean all the other parts including the decompressor, spring and bolts along the way.
The one on the left is the original head, which you cannot see from this angle but has some of the fins broken on the front. The one on the right is the replacement. They must be two different batches of foundry because they don't have the same marking. I suspect the original one to actually coming from a Solex model 1400 and not a 1700 (replaced or installed in factory with older left over inventory?)
I also disassembled, cleaned and prepared the carb to be set back on the engine.
Next step, will be reassembling the engine now that most parts have been fully degreased, bead blasted and cleaned.
Tuesday, February 18, 2014
Time for some cleanin'
After heating and cooling the cylinder with the piston stuck in it several time and letting it soak several days, nothing, not a tiny move. So it ended where it should have been in the first place, the 20 ton press!
After using some granular sugar and a bearing to dissipate the force, and cranking carefully, the big bang happened and the piston came out, voila!
Luckily the cylinder is not damaged and good honing with some gas mix and fine grit sandpaper on a pvc pipe will do the trick.
Time for some bead blasting for the other parts to clean them up and get them ready for re-assembling! First the crank case
After using some granular sugar and a bearing to dissipate the force, and cranking carefully, the big bang happened and the piston came out, voila!
And it's not pretty! You can see from the picture that the engine likely seized while running because of how it seems scratched and bent. Here it is after a good cleaning:
Time for some bead blasting for the other parts to clean them up and get them ready for re-assembling! First the crank case
Wednesday, February 12, 2014
Taking the engine apart
The engine come apart like any other solex, I usually start by removing the carburator, fuel pump, crank case cover, and the cylinder.
I then take care of the crank shaft side with the flywheel, then the first obstacle on this bike was the coils, since they are smaller in length but chunkier, the Solex tool would not work and I had to be creative since it's easy to bend the plate.
I solved that by using out of order 3800 coils and pulled and it came out eventually. Then comes the clutch
Which is different from the 3800 as the springs are longer. It was the first generation of clutches on a Solex since all previous models (1400 and prior) did not have any.
The crank shaft, the spacers and bearing came out next
Here is the dirty crank case
Tuesday, February 11, 2014
What's missing
The first thing I did with this bike, apart from storing it for a while was to start inventorying everything that may be missing or broken. Especially with the engine, since it was seized and that would take a while to get back in shape.
Just looking at the engine, the spark plug was destroyed, the cylinder head was chipped (some of the winglets were broken, which is common on this model and the engine lever was bent. the gas tank is dinged, but not leaking at first sight and the return line was bad and plain dry roted anyway. The engine seemed pretty ok otherwise.
I started by taking everything apart just to realize that there would be no movement of the piston and crank shaft, no matter how hard I tried to turn the fly wheel.
So I took the decision to take everything out and see if I would be able to remove the piston from the cylinder with a press...
Thursday, October 17, 2013
Help! This one was crying for help..
Here is a Velosolex model 1700 with US Specs (minor things compared to the one in France) that I found on ebay back in 2011. The bike had no wheels, but the rest was mostly there, and a Velosolex 1700 in the US is not a common thing. So I took a change..
The real risk was the engine, from the picture below you can see the cylinder head was broken, the engine lift handle looks bent. the bike must have fallen a few times because the tanks is all dinged...
I was right to be worried, because after it arrived, I checked and the engine was seized... Oh well! In this blog, I will document the work on this Velosolex while trying to bring it back to life..
Subscribe to:
Posts (Atom)


